Changing a tire is a skill that is handy for everyone.
From seasoned mechanics to car hobbyists, it’s a must-know process.
Our guide will make it simple and clear for you!
Understanding the Tire Machine
- A tire machine helps us change tires with ease.
- It’s a tool found at all auto shops and many garages.
- There are several steps to using it correctly.
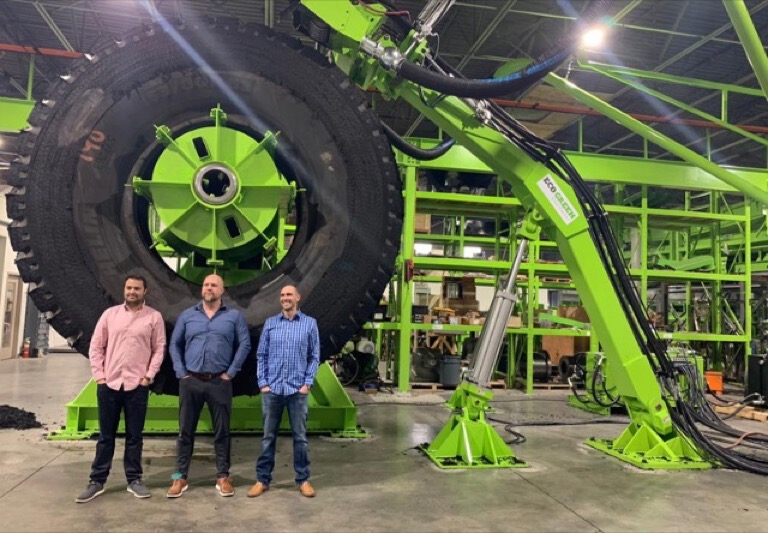
Credit: ecogreenequipment.com
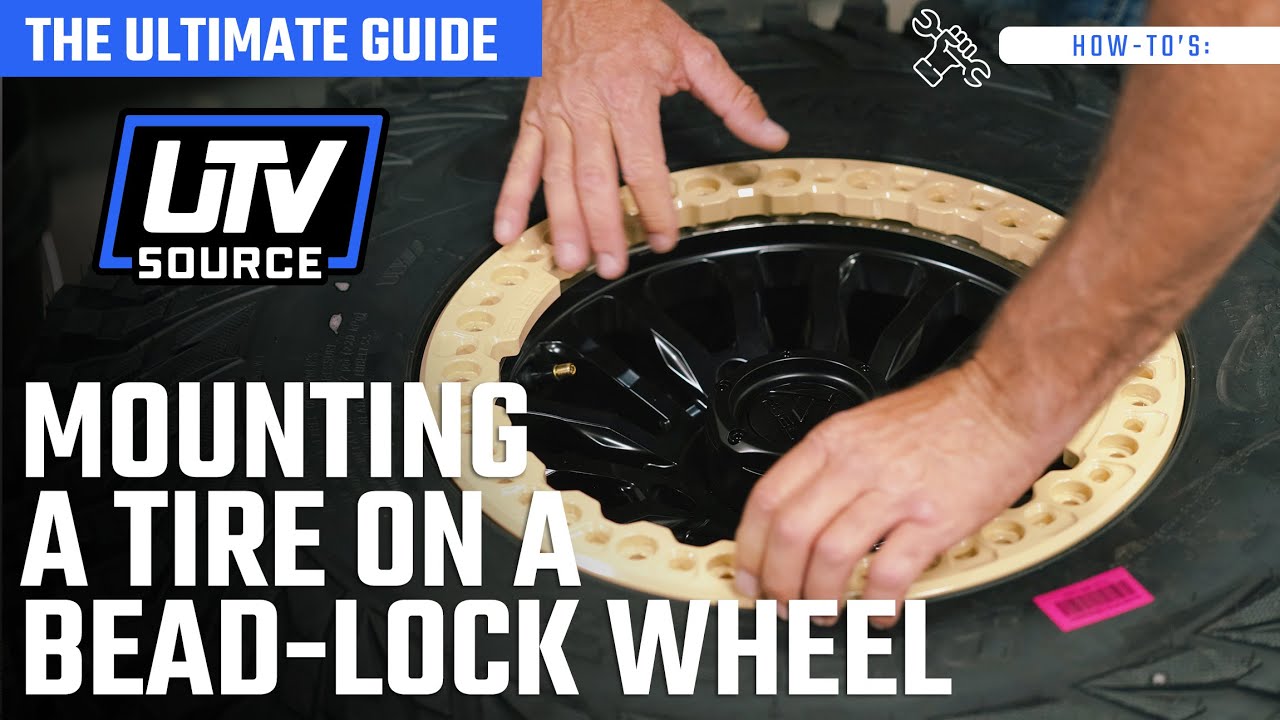
Credit: m.youtube.com
Step by Step Use of a Tire Machine
1. Prepare Your Workspace
First, make sure the area around your tire machine is clean. Keep your tools close by!
2. Loosen The Wheel Lugs
Before lifting the car, use a lug wrench to loosen the wheel’s lugs. Be gentle, don’t fully remove them.
3. Lift The Vehicle
Use a jack to lift the car up. Secure it well before you remove the wheel completely.
4. Remove The Wheel
Now, take off the loosened lugs and slide the wheel off. Place it on the tire machine.
5. Break The Bead
The bead is the tire’s edge that sits firmly on the rim. We need to break it free!
Most tire machines have a bead breaking arm. Push the arm against the tire to separate it from the rim.
6. Secure The Rim On The Machine
With the tire’s bead broken, position the wheel onto the machine’s rim clamps.
Make sure the tire is held firmly in place.
7. Remove Old Tire
| Step | Action | Tips |
|---|---|---|
| 1 | Use the tire lever. | Slide the lever under the bead. |
| 2 | Leverage the tire off. | Go around the rim, lifting the tire. |
| 3 | Repeat for the other side. | Do the same to free it entirely. |
8. Mount New Tire
With the same steps but in reverse, mount the new tire onto the rim.
9. Ensure Bead Is Seated
Use the machine to push the tire bead back onto the rim.
You’ll hear a popping sound when it’s in place.
10. Inflate The Tire
Attach the air hose and fill the tire with air to the proper pressure.
11. Inspect And Test
Make sure the tire is secure and there are no leaks.
Spin the tire on the machine to check for any wobble.
12. Reattach Wheel To Vehicle
Put the wheel back on the vehicle and tighten the lugs by hand first.
13. Lower Vehicle And Tighten Lugs
Remove the jack to lower the car. Use a torque wrench to tighten the lugs properly.
Important Safety Tips
- Always wear protective gear. Safety goggles and gloves are essential.
- Check your machine. Make sure it’s working well before you start.
- Keep fingers clear. Avoid getting them stuck between the tire and rim.
- Double-check air pressure. Always inflate tires to the recommended level.
Frequently Asked Questions Of How To Use A Tire Machine Step By Step: Ultimate Guide
What Is A Tire Machine Used For?
A tire machine, or tire changer, is a specialized tool designed expressly for mounting and dismounting tires from vehicle wheels.
How Does A Tire Machine Work?
A tire machine operates by clamping the wheel securely, breaking the tire bead, and then leveraging the tire off the rim using a mount/demount mechanism.
Can You Change Tires At Home?
Yes, with the appropriate tire machine and some technical know-how, you can change tires at home safely and efficiently.
What Are The Steps To Use A Tire Machine?
Using a tire machine involves securing the wheel, deflating the tire, breaking the bead, and then carefully prying the tire from the wheel.
When Should Tires Be Replaced?
Tires should be replaced when they show signs of wear, such as tread depth below 2/32 of an inch, damage, or aging generally after five years.
Conclusion
Using a tire machine is a valuable skill you’ve now mastered.
With practice, you will be changing tires quickly and safely!
Always remember to follow the steps and keep safety first.